ops checklist
Proxmox Restore Test Checklist
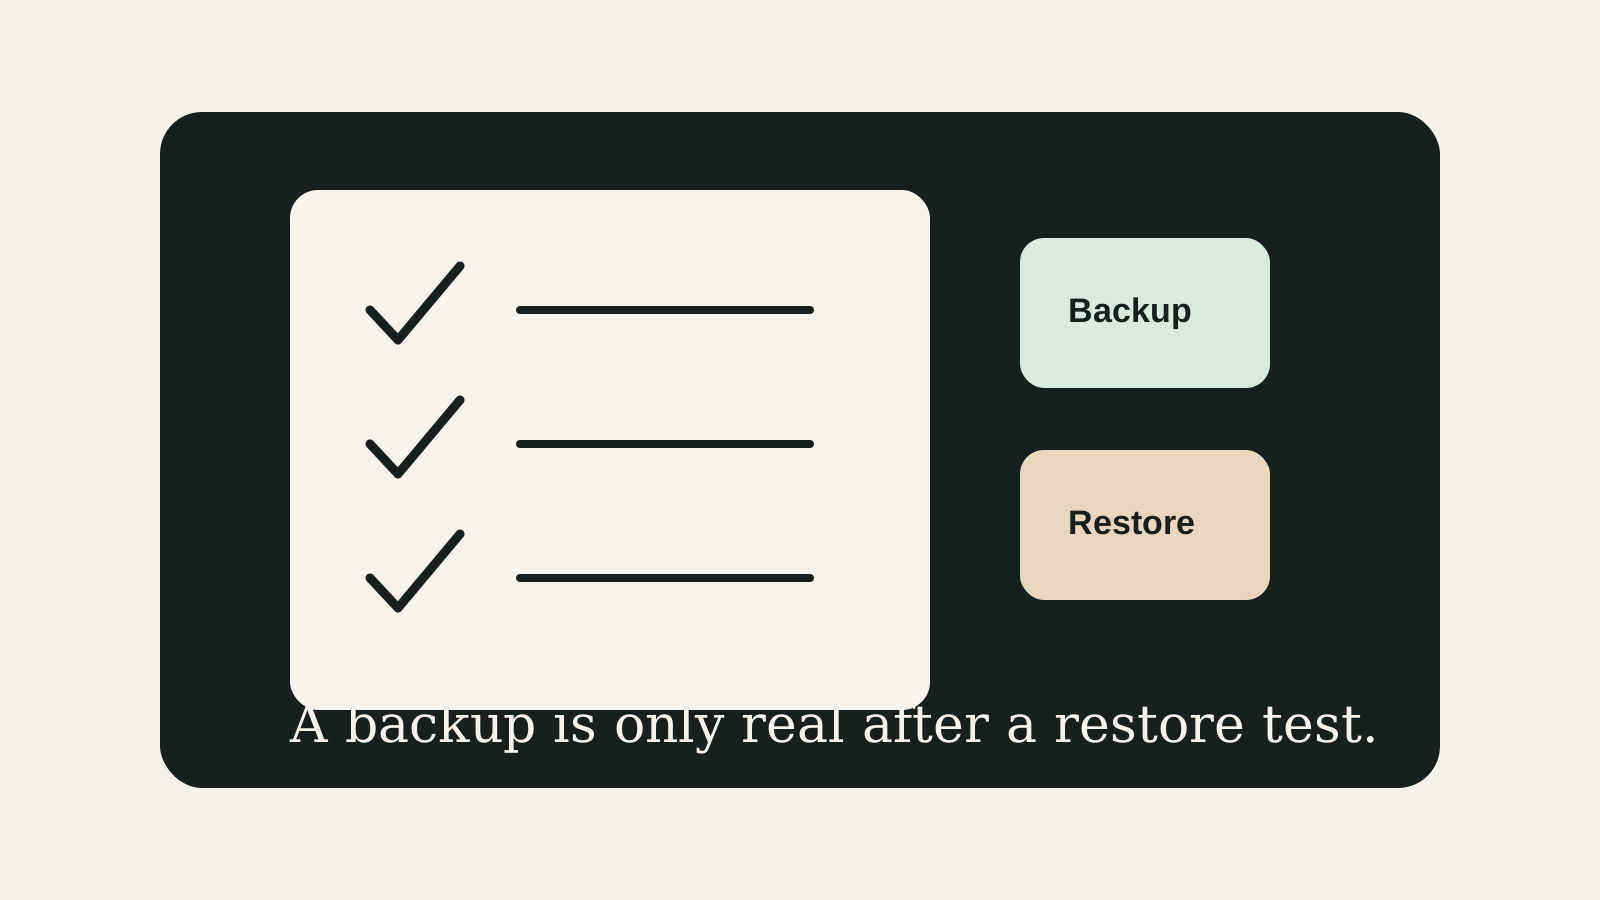
A Proxmox backup is only trustworthy after a restore test proves that the VM, data, network identity, and recovery notes actually work.
Independent third-party notes. Verify critical homelab changes against primary docs and your exact hardware revision.
Quick Answer
Run a restore test before important data depends on the host. A backup file is not enough; verify that you can boot or inspect the restored workload and that the recovery path is documented.
Reader verdict
A backup becomes real only after restore testing.
Make restore testing a normal homelab habit before updates, storage changes, and important service migrations.
- Best for
- Users storing important files, running Home Assistant, or depending on always-on services.
- Avoid if
- You are only looking for a purchase recommendation; start with the build checklist first.
- Biggest risk
- Discovering during an outage that backups exist but cannot restore the thing you care about.
Proxmox Restore Test Checklist should help you make a calmer decision. The point is not to make the homelab more complicated; it is to reveal the first thing that could make the build annoying, fragile, or hard to recover.
Choose your path
If this is your situation, start here
Beginner-safe default
Beginner-safe default
Choose the boring path first: known hardware details, one clear storage owner, console access for network changes, and a backup target outside the host.
- Exact SKU, NIC, and storage layout are recorded
- Rollback or restore path exists before the change
- The next step is small enough to test
Decision Score
Good because it turns operations into repeatable checks.
The whole page should make failure less scary.
Backups and restore tests are the practical trust layer.
Useful for deciding what reliability gear is actually needed.
Skipping operations work is how a lab becomes fragile.
Upgrade Path
- Start with the simplest design that satisfies the current workload.
- Add complexity only after backups, restore tests, and network access are proven.
- Move to the next hardware or architecture class when the current constraint is measured, not guessed.
Key Facts
- Decision focus
- A homelab becomes more reliable when routine operations are written down and tested.
- Backup rule
- Backups are useful only when restores are tested.
- Change rule
- Updates, power events, and hardware changes need rollback notes.
- Best use
- verify backups with restore test.
How to decide
| If this is true | Safer path | Pause when |
|---|---|---|
| The exact hardware details are known | Continue with the checklist | NIC, RAM, or storage details are missing |
| The setup will hold important data | Plan backup and restore first | Redundancy is being treated as backup |
| The design needs passthrough or VLANs | Document rollback before changing | You have no local console access |
| The goal is a first homelab | Keep the first version boring | The plan depends on too many untested assumptions |
Recommended Checks
- Record current host, storage, network, and workload state.
- Take or verify backups before changing the system.
- Write the rollback path before applying the change.
- Run the operation in a maintenance window if important services depend on it.
- Verify the service and restore path after the change.
Verification
- A backup or pre-change state exists.
- The intended service works after the operation.
- A restore or rollback test has been recorded.
Warnings
- A successful update or backup job does not prove recovery works.
- Power and storage events can reveal weak assumptions in small hosts.
Best For
- Small Proxmox operators
- Homelabs storing important data
- Repeatable maintenance
Not For
- One-off experiments with no persistent data
- Enterprise runbooks without adaptation
- Skipping restore tests
Common Beginner Traps
- Updating without notes
- Never testing restores
- Keeping backups only on the host being protected
Save this before checkout
Save this before acting
- Exact hardware details matter more than the product family name.
- Backups and rollback should exist before important changes.
- Unknown NIC, storage, or passthrough details are buying blockers.
- A simpler first build is usually easier to trust.
Examples
Host:
Operation:
Backup status:
Rollback step:
Verification:
Restore test date:
FAQ
Is Proxmox Restore Test Checklist beginner-friendly?
It can be, if you treat it as a checklist and verify the exact hardware, storage, network, and backup details before depending on it.
What should I verify first?
Start with the exact SKU or configuration, then check NIC, RAM, storage ownership, cooling, backups, and rollback.
What is the main trap?
Moving forward because the category sounds right while the exact failure mode is still unknown.
When should I pause?
Pause when the plan depends on unknown NIC behavior, unclear disk ownership, no backup target, or no way to recover from a bad change.
What should I read next?
Follow the reading path at the bottom of the page based on the first risk you found.
Sources
What to read next